
Switching processors sounds scary because “payments” feels like the one thing you can’t afford to break. The good news: you can migrate without downtime if you treat it like a controlled cutover (just like moving a website to a new host): plan, test, run in parallel, then flip the switch.
Below is a practical, field-tested checklist—plus how Merchant Marvels’ free equipment options can make the transition easier, faster, and often cheaper (including surcharge or cash discount setups).
What “no downtime” actually means
No downtime doesn’t mean you change everything in one second. It means:
-
Customers can keep paying normally while you set up the new processor “behind the scenes.”
-
You run old + new in parallel for a short window, validate results, then move volume in phases.
-
You keep a rollback plan (old processor ready) until the new one is proven.
Before you switch your payment service provider: know what you’re really switching
A “processor change” can involve several moving parts:
-
Merchant account / acquiring (where approvals, funding, risk settings live)
-
Gateway (online payments, virtual terminal, token vault for saved cards)
-
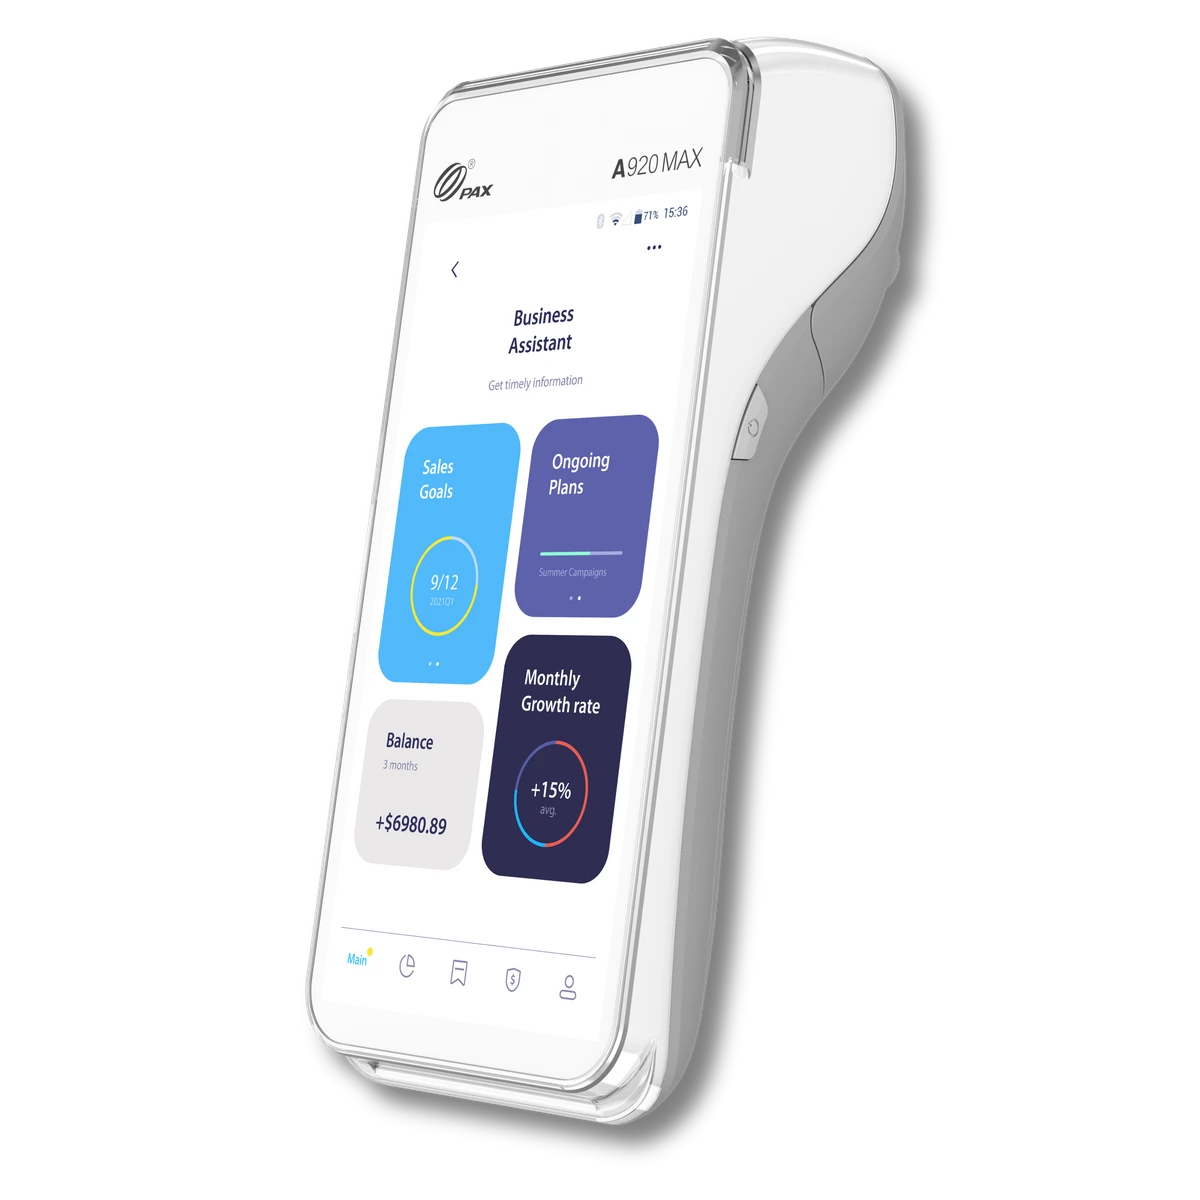
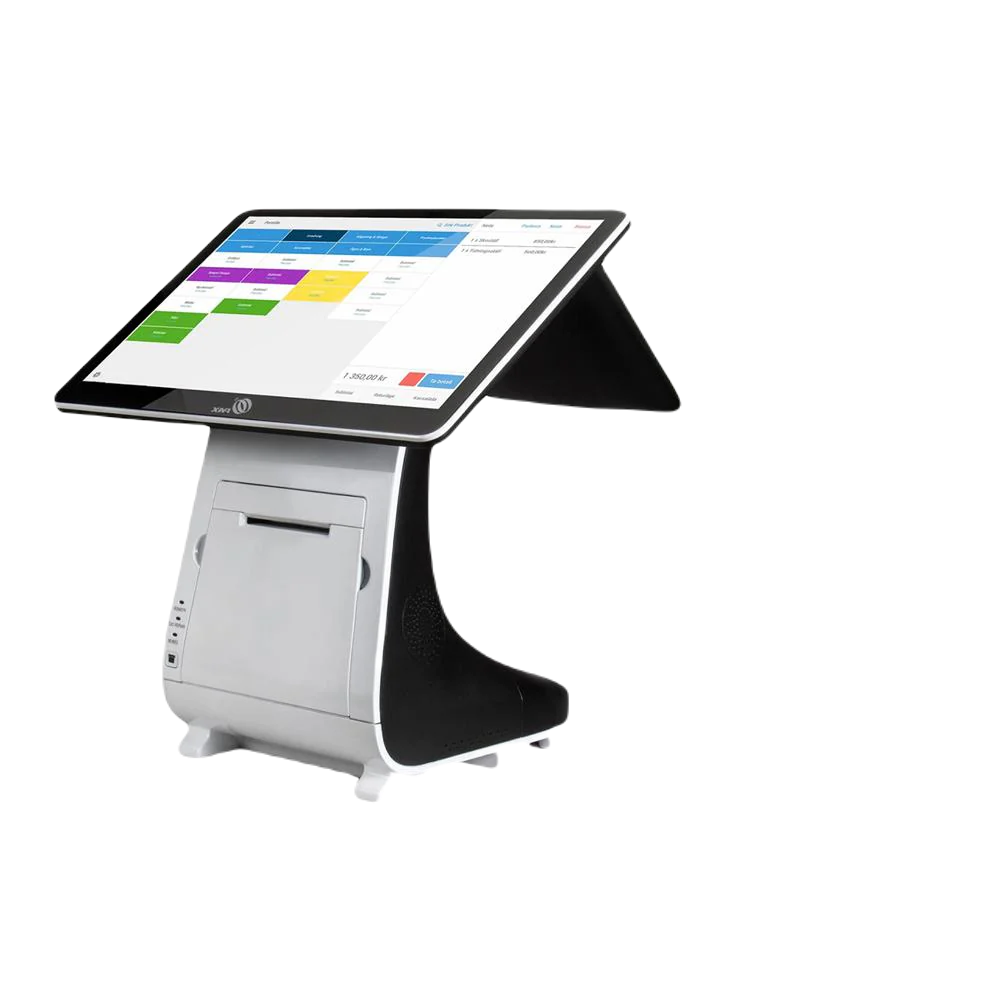
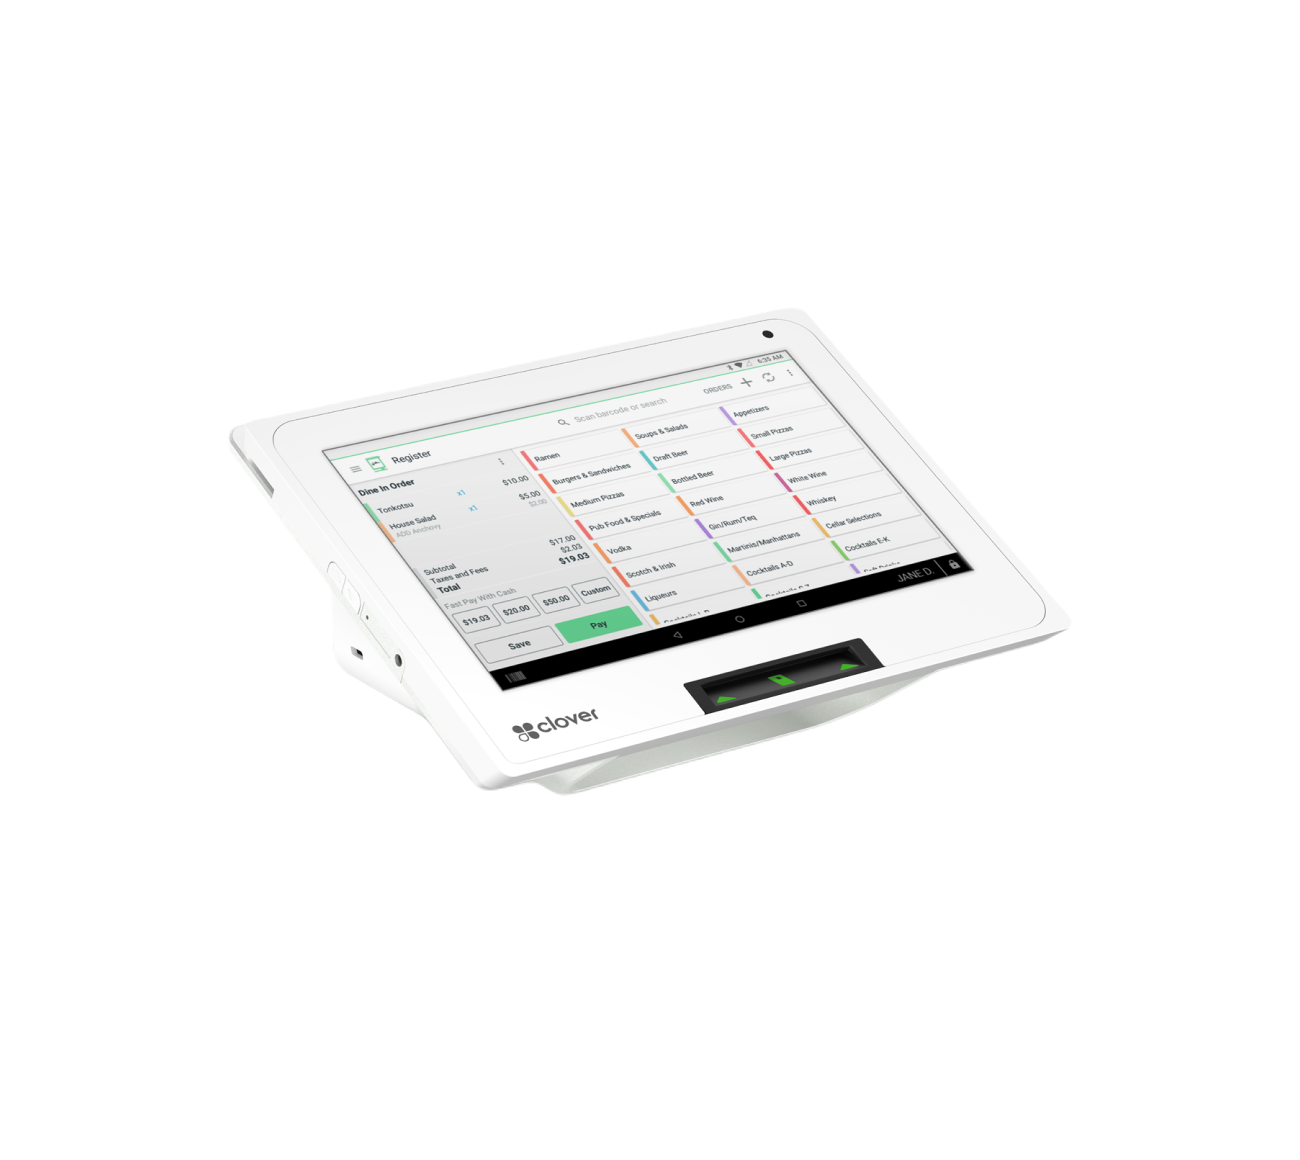
POS / terminal hardware (Clover, PAX, Dejavoo, etc.)
-
Integrations (WooCommerce/Shopify, invoicing, accounting, delivery apps)
-
Pricing model (interchange-plus, flat rate, surcharge, cash discount)
If you map these first, you’ll avoid surprises during cutover.
The no-downtime migration plan (10 steps)
1) Audit your current setup (1–2 hours)
Make a quick “payments inventory”:
-
In-store: Which terminals/POS? Any PIN pads? Any gift cards?
-
Online: Which gateway/plugin? Any subscriptions/recurring?
-
Key settings: tips, tax, receipts, refunds, partial auths, offline mode
-
Funding: when deposits hit, batch cut-off time, chargeback notifications
Pro tip: pull your last 2–3 statements so the new provider can replicate (or improve) your setup.
2) Confirm your goals (so you don’t switch twice)
Common goals include:
-
Lower effective rate / better “real cost”
-
Faster funding (next-day, same-day options)
-
Better support / fewer “random holds”
-
Add surcharge or cash discount
-
Upgrade equipment / modern POS features
Write your top 3 goals and make them the decision filter.
3) Get approved with the new provider before touching anything
This is where many merchants mess up—don’t cancel the old processor yet.
Get the new account approved and confirm:
-
MID live and boarded
-
Deposit account verified
-
MCC correct (important for risk + interchange)
-
Refund/void rules, tips, batch time
-
Chargeback contact email and portal access
4) Set up hardware in parallel (the “zero downtime” secret)
If you only have one terminal, a processor change can feel like a “hard cutover.”
This is where Merchant Marvels free equipment placement can help: you can set up new, pre-configured equipment while keeping your current terminal active—so you can test without interrupting sales.
What we typically do to make the switch smooth:
-
Prepare a new Clover/PAX-style device with your menu/taxes/tips/receipts set
-
Run test transactions
-
Train staff
-
Keep old system ready as backup during the transition window
(Exact device availability depends on qualification and business type, but the goal is the same: no single point of failure during migration.)
5) Test transactions like a pro (30–60 minutes)
Don’t just “run a $1 sale.” Test your real-world edge cases:
-
Sale + tip
-
Refund and void
-
Debit vs credit
-
Keyed entry (if applicable)
-
Pre-auth + capture (restaurants/hotels)
-
Partial approval (common with some prepaid cards)
-
Batch close + confirm deposit timing
Document results in a simple checklist so you can confidently move forward.
6) Plan your cutover window (pick the lowest-risk time)
Choose a slow period:
-
After lunch rush, before dinner rush
-
Mid-week instead of weekend
-
After payroll/large vendor withdrawals (to avoid NSF confusion)
Then set a clear cutover rule:
-
“We will route 20% volume to the new setup for 48 hours, then 100%.”
Running systems in parallel is a widely recommended way to prevent outages and revenue loss.
7) Migrate online payments carefully (especially saved cards)
If you have subscriptions or stored cards, you need to know where tokens live:
-
If tokens are stored in your gateway vault, you may need a supported migration path.
-
If stored inside a specific provider’s vault, you may need customers to re-enter cards.
Do not flip your website checkout until:
-
You’ve tested live payments
-
You’ve confirmed webhooks/order status updates
-
You’ve verified refund flow and fraud rules
8) Decide: Surcharge vs Cash Discount (and set it up correctly)
Option A: Credit card surcharge
A surcharge is an added fee for credit card transactions. Card brand rules require clear disclosure and caps.
-
Visa rules in the US cap the credit card surcharge maximum amount at 3.00% and require prominent disclosure at entry and at the point of transaction.
-
Mastercard caps surcharge at 4% and requires disclosure including showing the surcharge amount and dollar amount on the receipt.
Important: Laws vary by state and business type. Your provider should help you set the correct compliant configuration for your location and channel (in-store vs online).
Option B: Cash discount / dual pricing
A cash discount program typically lists a “regular price” and gives a discount for cash—often supported by signage and receipt messaging. Many industry guides emphasize clear customer communication via signage and receipts.
Practical takeaway:
-
If you want “customers pay the fee,” surcharge is common for card-heavy businesses.
-
If your business gets lots of cash customers (or you like dual pricing), cash discount can be a fit—but it must be implemented cleanly and transparently.
Merchant Marvels can set up either approach (where permitted) and configure the POS so it calculates the fee/discount automatically—so your staff doesn’t do manual math.
9) Train staff with a one-page “shift cheat sheet”
Include:
-
How to take payments (tap/chip/swipe)
-
How to do tips, refunds, voids
-
What to say if a customer asks about surcharge/cash discount
-
Who to call for support
-
What to do if internet drops
Training is a big part of smooth migrations, and planning for internal readiness is commonly recommended in payment migration checklists.
10) Reconcile deposits daily for the first week
For 5–7 days:
-
Match batches to deposits
-
Confirm fees align with the agreed pricing
-
Watch for duplicate transactions (rare, but check)
-
Confirm chargeback alerts are active
Once stable, you can confidently close the old account.
Common mistakes that cause downtime (avoid these)
-
Cancelling old processor before the new one is live
-
Not testing tips/refunds/batching
-
Flipping website checkout without testing webhooks
-
Moving subscriptions without a plan
-
No signage/receipt setup for surcharge/cash discount
-
Not running parallel processing (your best safety net)
How Merchant Marvels helps you transition easily your payment services (and affordably)
If your goal is “switch fast with minimal disruption,” here’s what typically makes the difference:
-
Free equipment options (so you can keep the old terminal running while setting up the new one)
-
Pre-configuration (taxes, tips, receipts, menu/inventory basics)
-
Best pricing alignment based on your volume + business type (so you don’t overpay)
-
Choice of fee strategy: surcharge or cash discount (where allowed), configured correctly with disclosures and receipt settings
-
Cutover support (test transactions, go-live checklist, staff handoff)
The end result: you transition with confidence, keep taking payments the entire time, and land on a setup that’s actually built to reduce your processing cost—without confusing your team or customers.


